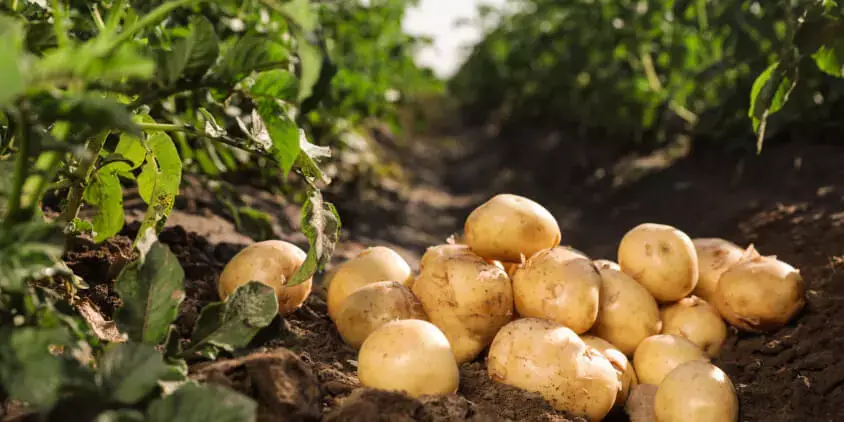
Growing potatoes can be a rewarding endeavor for gardening enthusiasts. To achieve a higher yield, it’s essential to follow proper preparation and planting techniques. This guide will walk you through the necessary steps to maximize your potato harvest.
Table of Contents
When to Plant Potatoes
Timing is crucial for planting potatoes. It’s recommended to plant them about two weeks after the last frost when the soil temperature reaches at least 7°C (45°F). In most regions, this period falls between March and April. Starting your seed potatoes early ensures they are ready to sprout and grow as soon as they’re in the ground.
Sprouting Your Seed Potatoes
Encouraging your seed potatoes to sprout before planting, a process known as “chitting,” can lead to a more robust harvest.
- Select Quality Seed Potatoes: Opt for certified disease-free seed potatoes to avoid growth inhibitors and plant pathogens.
- Provide Optimal Conditions: Place the seed potatoes in a bright, cool area to encourage sprouting. Within 7–10 days, sprouts should start to appear. Once sprouted, transfer the potatoes to a cooler spot, around 10°C (50°F), with some light exposure to strengthen the sprouts.
Cutting Seed Potatoes
If your seed potatoes have multiple sprouts, cutting them can maximize your yield.
- Use a Clean Knife: Divide the potato, ensuring each piece has at least one sprout.
- Allow Cuts to Heal: Let the cut surfaces dry and heal for a few days before planting. This prevents rot and protects the potatoes from soil-borne diseases.
Enhancing Soil with Wood Ash
Incorporating wood ash into your soil can provide essential nutrients and protect your potatoes from pests.
- Nutrient Boost: Wood ash contains potassium and calcium, which are vital for potato growth.
- Pest Protection: It acts as a natural repellent against pests like beetles.
Application Tips
- Soil Treatment: Sprinkle wood ash over the soil where potatoes will be planted.
- Seed Treatment: Dust the seed potatoes with ash just before planting to enhance protection.
Planting the Potatoes
Once your seed potatoes are sprouted, prepared, and optionally treated with wood ash, they are ready for planting.
- Dig Trenches or Holes: Place the potatoes sprout-side up.
- Cover with Soil: Ensure they are adequately covered.
- Water Thoroughly: Maintain even moisture until sprouts emerge.
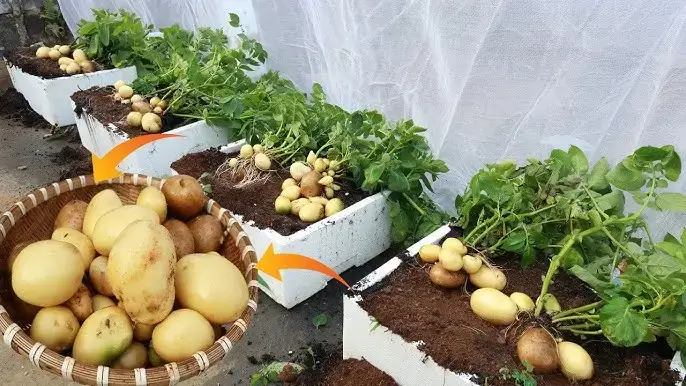
Hilling for Higher Yields
Hilling is a critical part of growing potatoes. As potato plants grow, tubers develop along the buried stems. Without proper hilling, these tubers can become exposed to sunlight, causing them to turn green and become unsuitable for eating. Regularly mounding soil around the base of the plants encourages higher yields and improves drainage.
Conclusion
By following these steps—timely planting, sprouting, proper cutting, soil enhancement, and hilling—you can significantly increase your potato yield. Start preparing your seed potatoes today for a healthier, more productive garden!
FAQs
Q1: How long should I let cut seed potatoes heal before planting?
Allow the cut surfaces to dry and heal for a few days before planting to prevent rot and protect against soil-borne diseases.
Q2: Can I use any type of wood ash for soil enhancement?
Yes, but ensure the wood ash comes from untreated wood and is free from contaminants. Avoid using ash from painted or treated wood, as it may contain harmful chemicals.
Q3: How often should I hill my potato plants?
Hill the plants when they reach 6-8 inches in height to promote tuber growth and protect them from sunlight. Repeat the hilling process as the plants continue to grow.
Read more: The Healthy Benefits Behind Grapeseed Extract: A Comprehensive Guide